
General Router FAQ
Vigor 2760 Initial Setup Setup

|
General Router FAQVigor 2760 Initial Setup Setup |

|
The Vigor 2760 is compatible with both ADSL and VDSL lines. The setup for each type of line is different. These instructions cover the settings for most ISPs in the UK but be aware that some ISPs may vary, although these same setup screens will still be used.
Connect your Vigor 2760 router to your PC; it should be the only router connected. If you have a previous/curent ADSL/VDSL router, that should be disconnected first to avoid conflicts. The Vigor 2760 also needs to be connected to power and your DSL line.
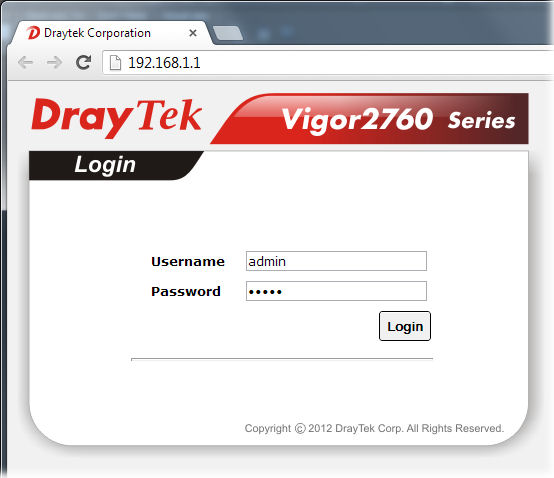
Firstly, you need to log into the router's Web User InterfacE (WUI). Open your web browser (Internet Explorer, Chrome, Fireox etc.) and enter the router's default IP address into the address bar (http://192.168.1.1). The Router login screen should appear. The default username is 'admin' and password is 'admin':
The first screen you will see is the router 'dashboard':
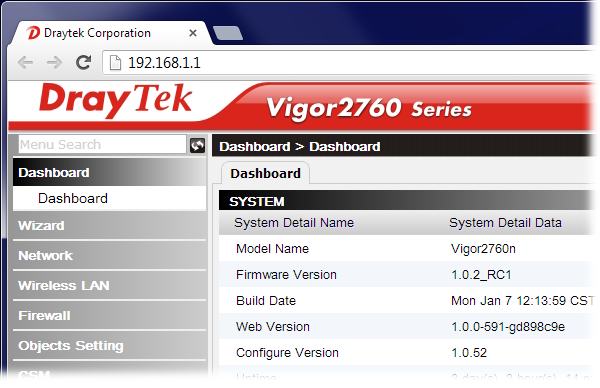
On the left hand side of the screen, is the menu. Locate 'Network' and click on it, and then click on 'WAN':

In the above screen, tick the box circled in red and then press the 'Edit' button (also circled).
The settings you will enter next will depend on whether you have ADSL or VDSL. ADSL is currently the most common line type, providing speed of 10-20Mb/s typically. VDSL is also known as FTTC or branded as 'BT Infinity' and provides currently up to 80Mb/s connectivity.
For ADSL, set up the fields as shown below. Your username and password will be supplied by your ISP. Most ISPs use the VPI/VCI/Encapsulation settings shown (0/38/PPPoA). One common exception is O2/BeThere which uses 0/101/MPoA which your should use in place of the below settings, otherwise set exactly as shown below:

For VDSL (FTTC) set up the fields as shown below. Substitute the username and password as supplied by your ISP. For most ISPs, the password is currently blank (enter nothing):
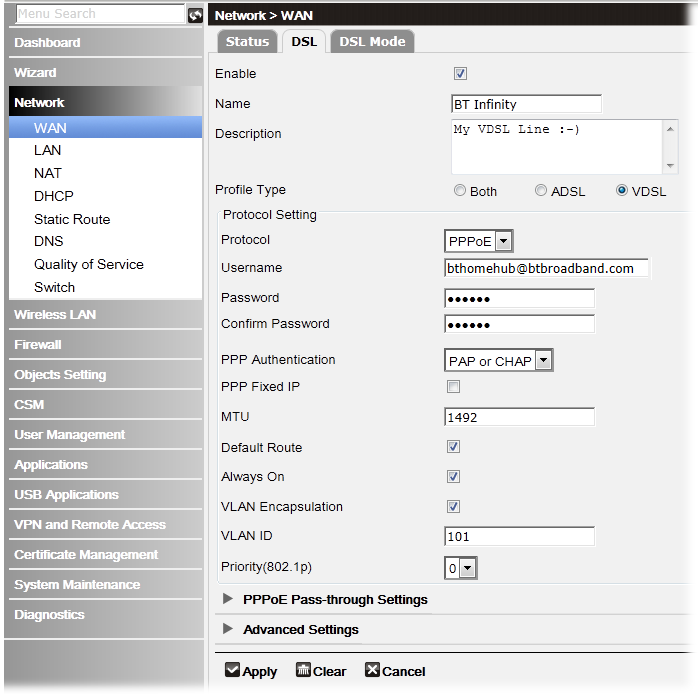
You will see another tab labelled 'DSL Mode'. This should already be set to auto and can be left alone:

Once all of the settings are correct on the above screens, cick the 'Apply' button at the bottom of the screen.
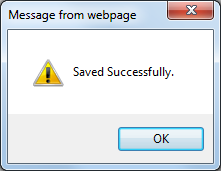
The settings are now be saved and you will be back to the profile menu:

After a few moments, you should be online (allow up to a minute) and you can browse the Internet!
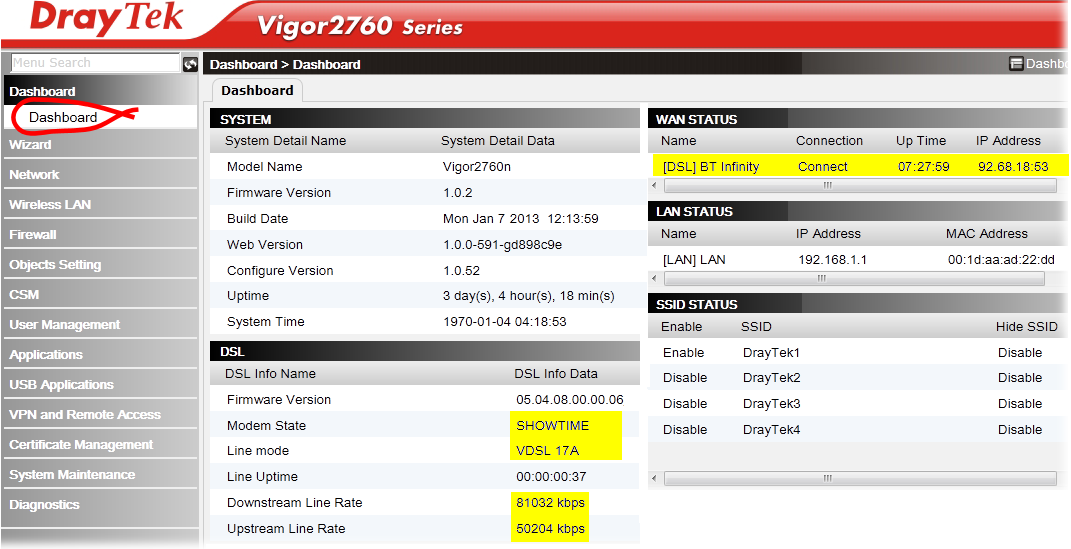
If the router is connected to your DSL line correctly and logged into your ISP, you can check the status back on the 'dashboard'. The areas highlighted in yellow are the important ones:
NOTICE : This document is © SEG Communications and may not be distributed without specific written consent. Information and products subject to change at any time without notice.